You've probably seen the Pinterest pins. Or maybe your grandmother swore by it. People act like that dusty bottle of Bragg’s in the pantry is a miracle cure for everything from cystic acne to age spots. But here is the thing: if you don't know how to use apple cider vinegar for face treatments properly, you are essentially putting a mild chemical peel on your skin without a manual. It’s acidic. Like, really acidic.
I’ve seen people splash it on full-strength. Don't do that. Your skin’s natural pH sits somewhere around 5.5, which is slightly acidic. Raw apple cider vinegar (ACV) usually lands around a 2 or 3. If you do the math, that’s a massive gap. You're trying to balance your skin, not dissolve it.
The "magic" in the bottle comes from the "mother." That cloudy, cobweb-looking stuff at the bottom is actually a colony of beneficial bacteria, proteins, and enzymes. It contains acetic acid, but more importantly for your face, it has malic acid. Malic acid is an alpha hydroxy acid (AHA). If you’ve ever paid $60 for a tiny bottle of "exfoliating glow serum" at Sephora, you’ve used AHAs. ACV is basically the DIY, dirt-cheap version of those high-end exfoliants.
Why Using Apple Cider Vinegar for Face Issues Actually Works
It isn't just folk medicine. There is real chemistry happening here. When you use ACV, you're performing a topical exfoliation that clears away dead skin cells. This helps with cell turnover. It also has antimicrobial properties. According to a study published in Scientific Reports, ACV can inhibit the growth of Propionibacterium acnes, the bacteria primarily responsible for those painful breakouts.
But it's not a one-size-fits-all solution. Honestly, if you have extremely sensitive skin or active eczema, you should probably stay away. The acetic acid can be incredibly irritating to a broken skin barrier. It's a tool, not a cure-all.
The Dilution Rule (The Only Way to Do This Safely)
Listen. Never, ever put straight ACV on your face. You will smell like a salad and your skin will turn beet red. Or worse, you’ll get a localized chemical burn. I've seen it happen.
The ratio is everything.
For most people, a 1:3 or 1:4 ratio is the sweet spot. That’s one part vinegar to three or four parts filtered water. If your skin is tough and oily, you might lean toward 1:2, but start weak. You can always make it stronger later. You can't un-burn your face.
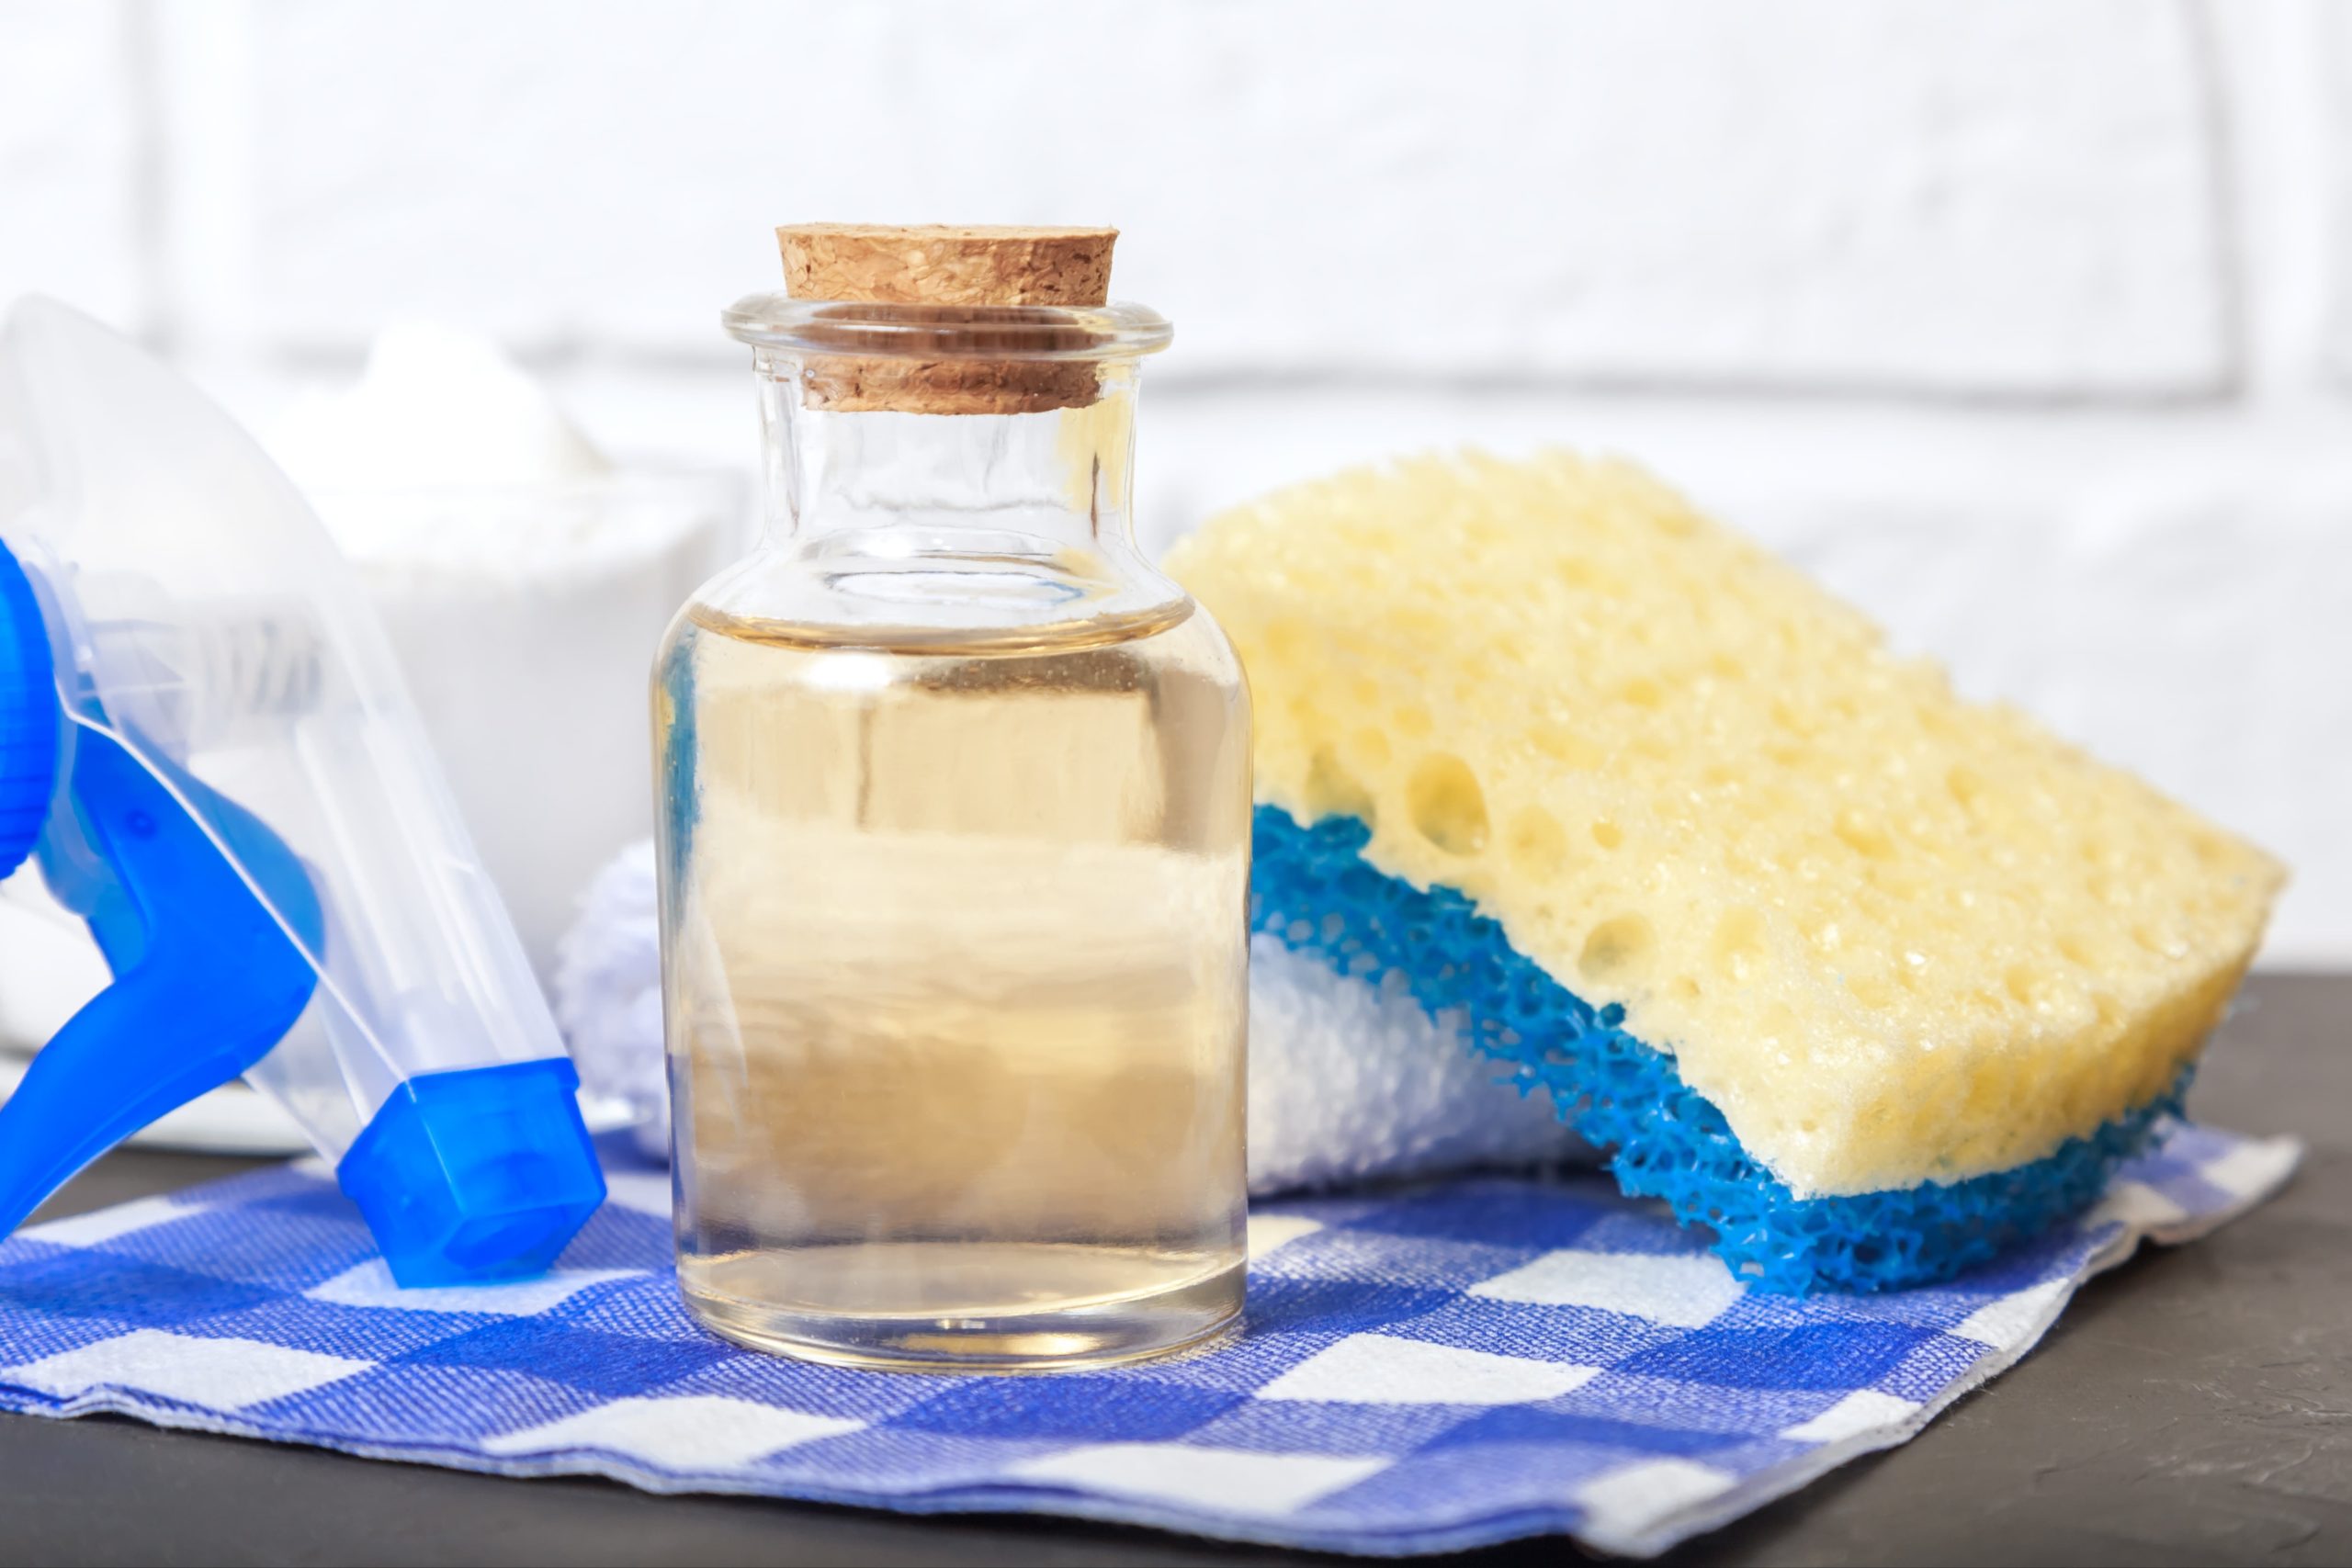
Use filtered or distilled water. Tap water has minerals and chlorine that can mess with the chemistry of the vinegar. Mix it in a glass jar, not plastic. Vinegar is a solvent; it can leach chemicals out of cheap plastic containers over time.
How to apply it
Get a cotton round. Dip it. Swipe it.
Focus on the oily bits—usually the forehead, nose, and chin. Avoid the eye area like the plague. If you get this in your eye, you’re going to have a very bad afternoon.
Spot Treating vs. Toning
Some people prefer using a more concentrated version as a spot treatment. If you have a massive blemish that just won’t quit, a 1:1 dilution on a Q-tip can help dry it out. The malic acid helps pull the gunk to the surface.
As a toner, it’s a different game. You’re looking for a "glow." You’re looking to reset the pH after using a harsh, alkaline cleanser. Many drugstore soaps are way too basic (pH-wise), which strips the acid mantle. A quick swipe of diluted ACV brings that pH back down where it belongs. This keeps the "bad" bacteria from moving in.
Common Mistakes People Make
Most people are too aggressive. They think if it stings, it’s working. That is a lie. A slight tingle? Sure. A burning sensation that makes you want to stick your head in the freezer? Wash it off immediately.
Another mistake is not shaking the bottle. All the good stuff—the enzymes and the malic acid—settles at the bottom in the "mother." If you don't shake it, you’re just getting the clear acetic acid at the top, which is harsher and less "nutritious" for the skin.
Also, don't use it every day at first. Start twice a week. See how your skin reacts. Your skin needs time to adjust to the increased rate of exfoliation. If you over-exfoliate, you’ll end up with "shiny" skin that isn't actually healthy; it’s just thin and irritated.
Sun Sensitivity
This is a big one. Because ACV is an AHA, it makes your skin more sensitive to UV rays. If you use it in the morning and then go for a run without sunscreen, you’re asking for sun damage. Use it at night. Or, if you're a morning person, be religious about your SPF 30+.
Real Results and What to Expect
Don’t expect to wake up with a filter-perfect face after one use. It takes about four to six weeks to see a real change in skin texture or a reduction in dark spots.
You might experience a "purge." This is when the acid speeds up cell turnover and brings existing clogs to the surface faster. It looks like a breakout, but it’s actually the skin clearing itself out. If the breakout lasts longer than two weeks or happens in places where you don't usually get pimples, it’s probably irritation, not a purge. Stop using it and let your skin heal.
The Actionable Protocol
If you're ready to try how to use apple cider vinegar for face care, follow this specific sequence to minimize risk and maximize the "glow" factor.
- The Patch Test: This is non-negotiable. Apply your 1:3 dilution to the skin just under your jawline. Wait 24 hours. If there's no redness or itching, you're good to go.
- Cleanse First: Use a gentle, non-foaming cleanser. You want your skin clean but not "squeaky" clean.
- The Application: Use a cotton pad to apply the diluted mixture. Do not rinse it off unless your skin feels uncomfortable.
- Moisturize: This is the most important step. ACV is drying. You must follow up with a high-quality moisturizer to seal in hydration. Look for something with ceramides or hyaluronic acid.
- Storage: Keep your mixture in the fridge. It feels amazing when it's cold, and it keeps the ingredients stable.
Stop using the mixture if it starts to smell "off" or if you notice any mold growth, though the acidity of the vinegar usually prevents this. Consistency beats intensity every single time. Start slow, respect the "mother," and watch your skin texture transform over the next month.
Next Steps for Your Skin:
- Check your bottle: Ensure it is raw, organic, unfiltered, and contains "the mother."
- Mix your batch: Create a 1:4 dilution (1 tbsp ACV to 4 tbsp filtered water) in a small glass container.
- Schedule it: Pick two nights this week to incorporate the toner after cleansing but before moisturizing.
- Monitor: Take a "before" photo in natural light to track your progress over the next 30 days.